For many of us, we walk into a boutique and buy a watch strap. How much do we know about the effort going into making the strap. Especially if it is a customized strap like those Jason makes.
Some weeks back, I featured Jason of JnS at his workshop but did not have the time to document the entire process. So I made it back to understand how a strap is made and the amount of time and effort needed to make a customized strap.
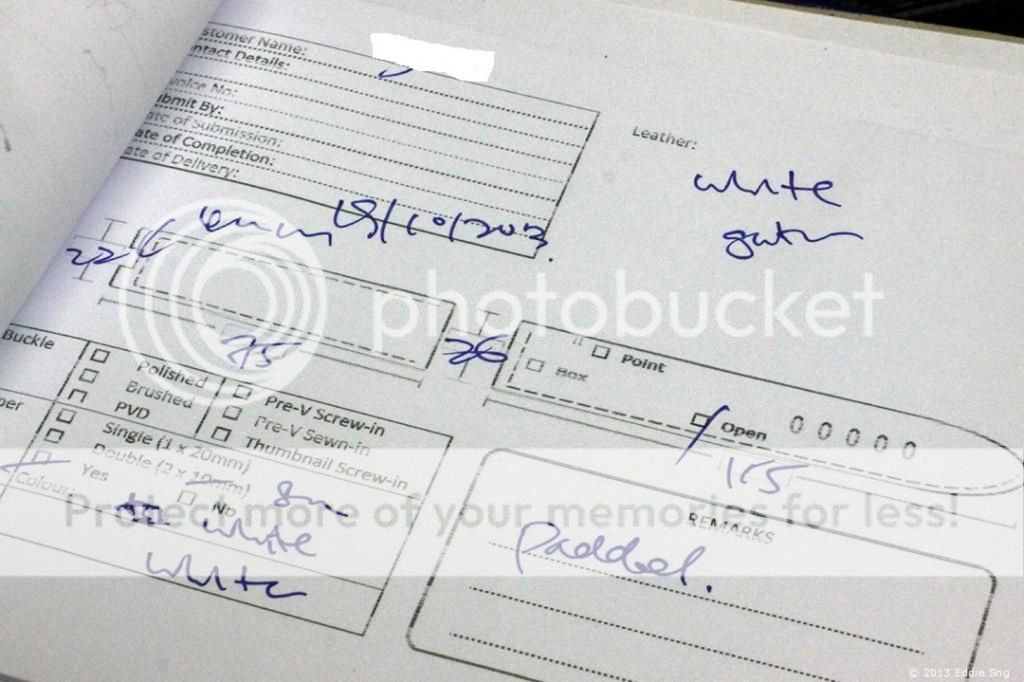
Located in Far East Shopping Centre along Orchard Rd (beside Hilton), Jason's workshop is on the 15th Floor. All starts with him taking your order - size of strap, wide, length, type of material, padded or un-padded etc.
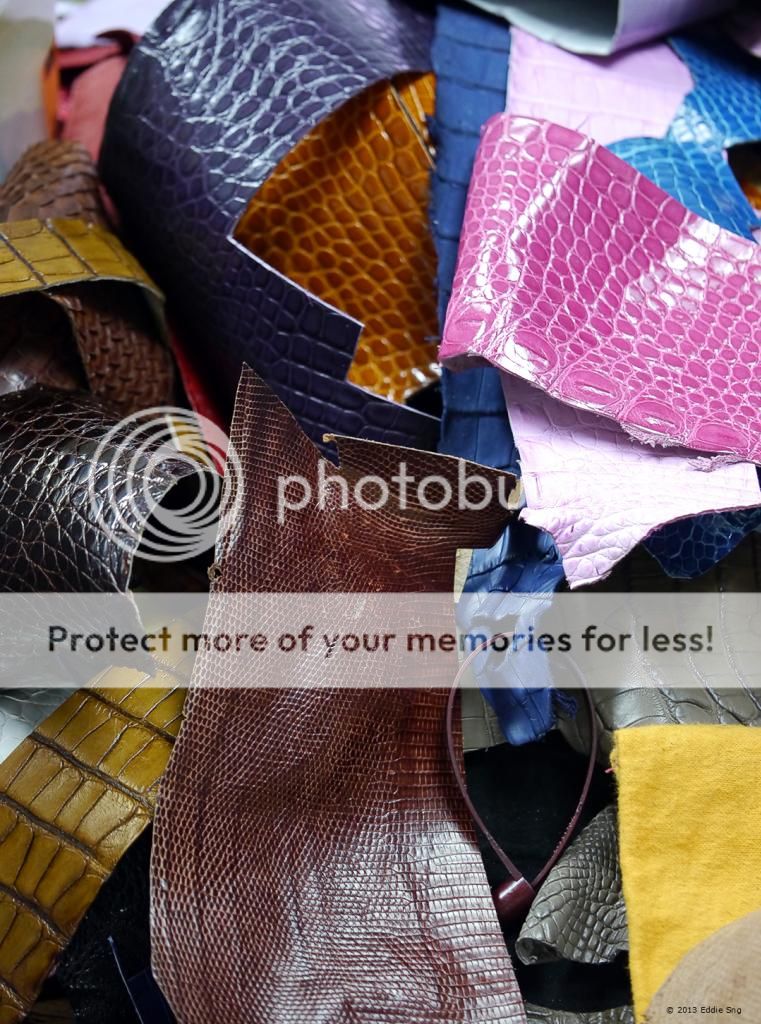
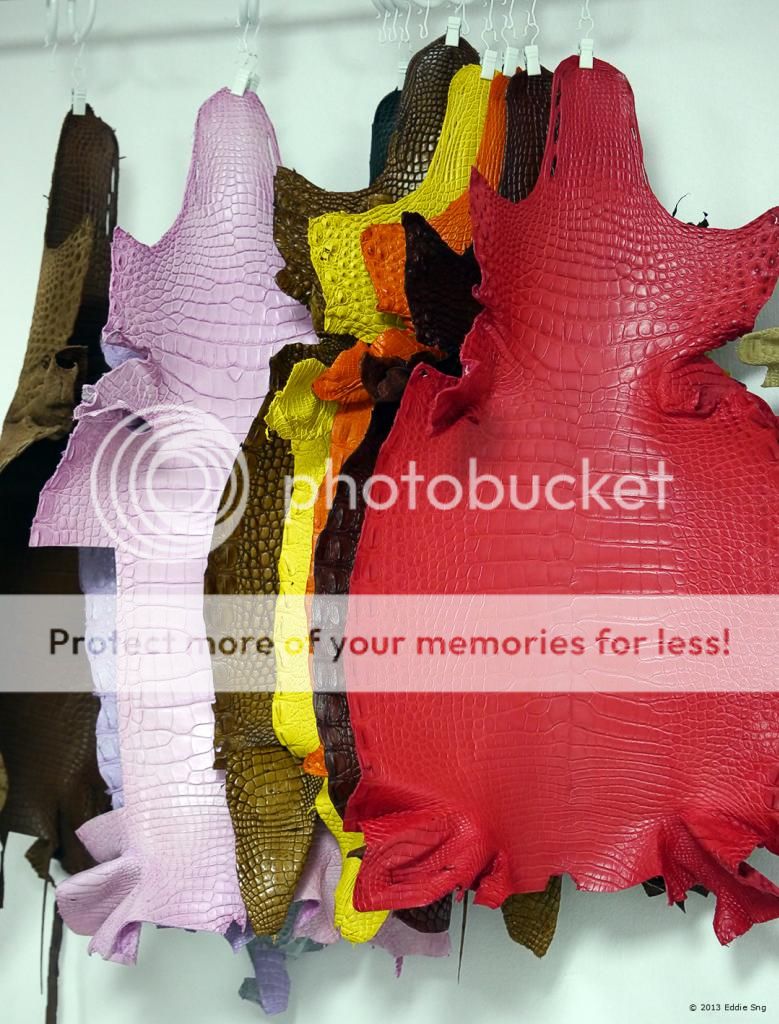
Jason has lots of materials to choose from - alligator to croc to calf leather of different colors. Many of his materials are from Italy - top grade leather.
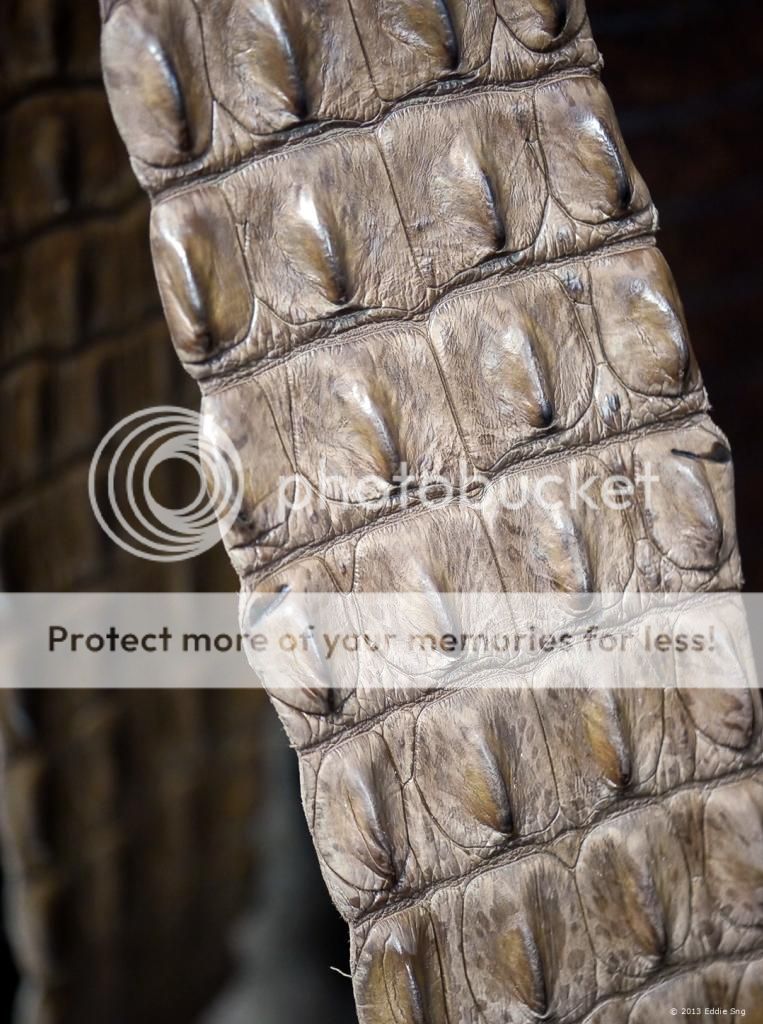
The prized "horn back". Funny thing was the horn back was not popular until the AP ROO came into market. Now it is a prized piece...
After choosing the material, it is down to cutting the material. Jason uses a mould, identifies the area of the material he wants to use and uses a clamp to cut the material. Jason makes the mould in standard sizes for the standard watch strap.
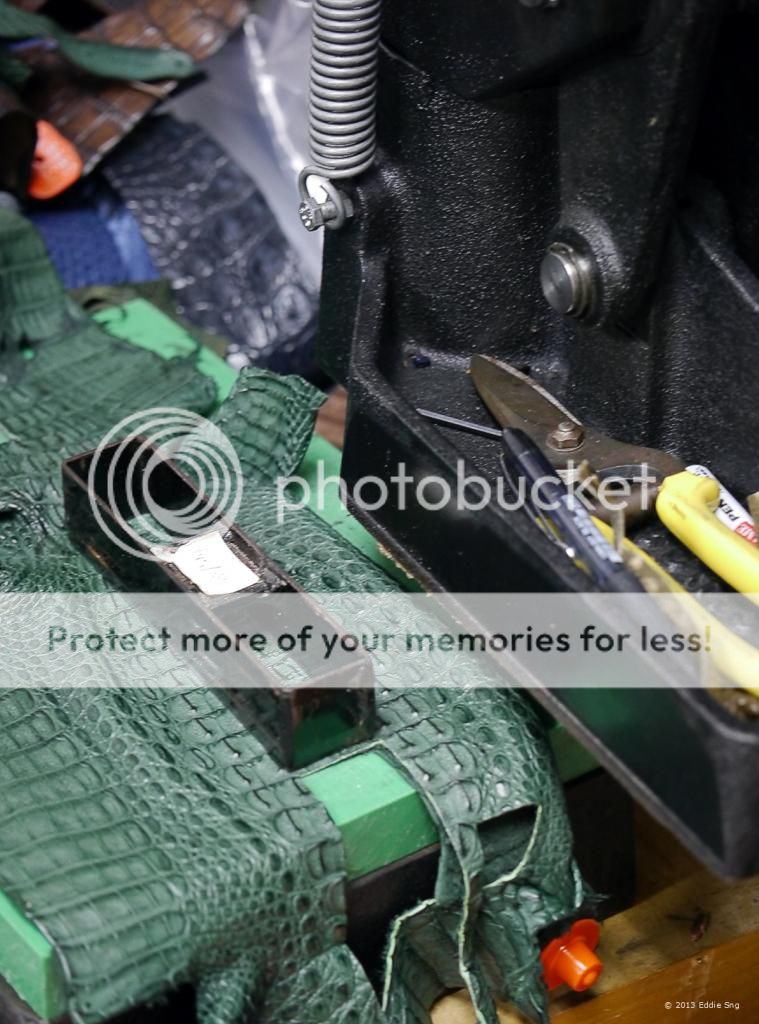
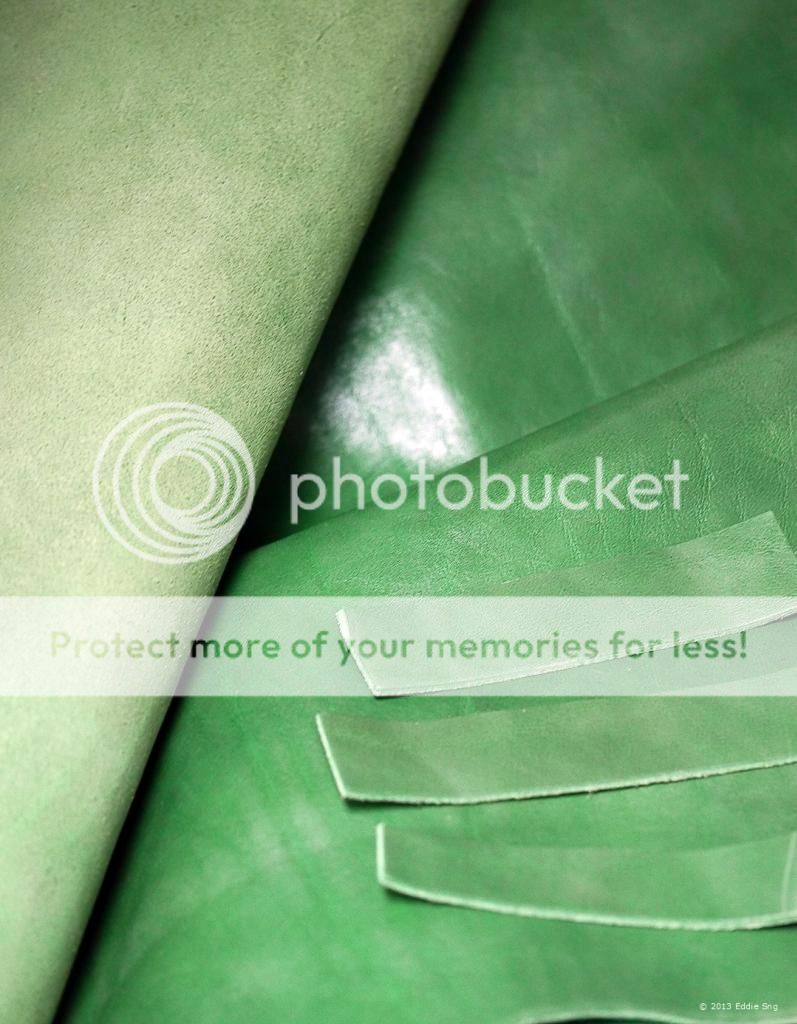
After stamp cutting the straps using the different parts of the material, this is the result.
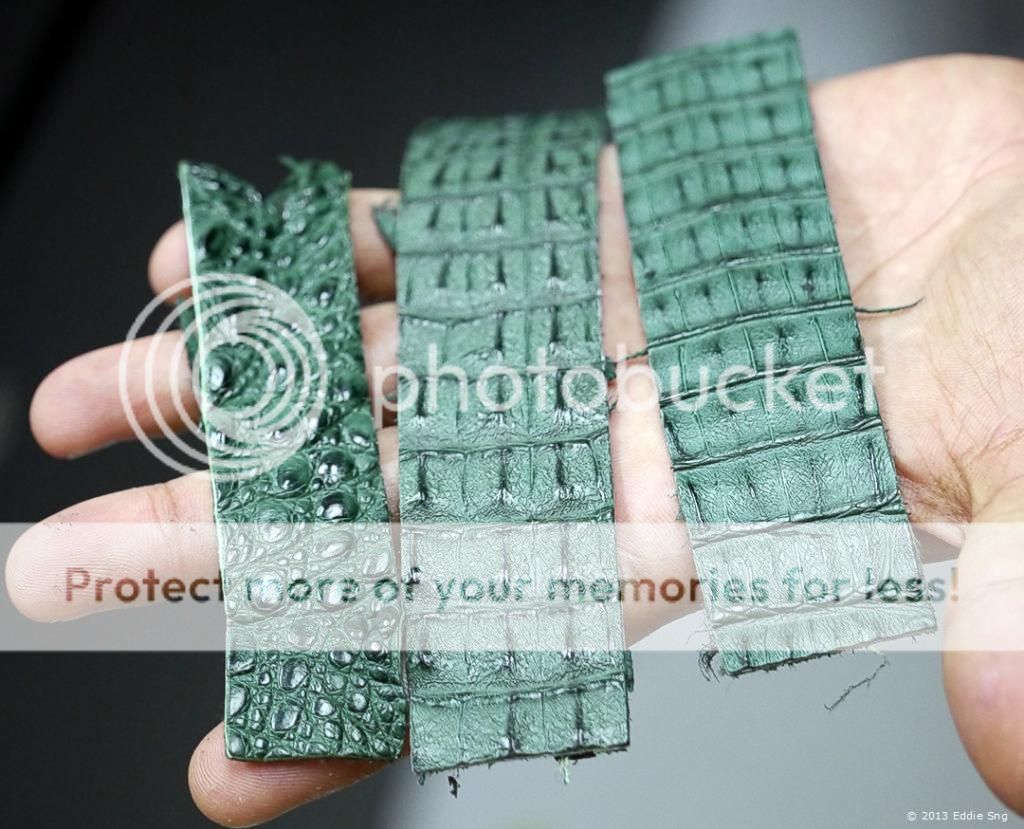
Then it is down to trimming the material. In this case, the alligator skin has fibres that needs to be properly trimmed. This is done by hand.
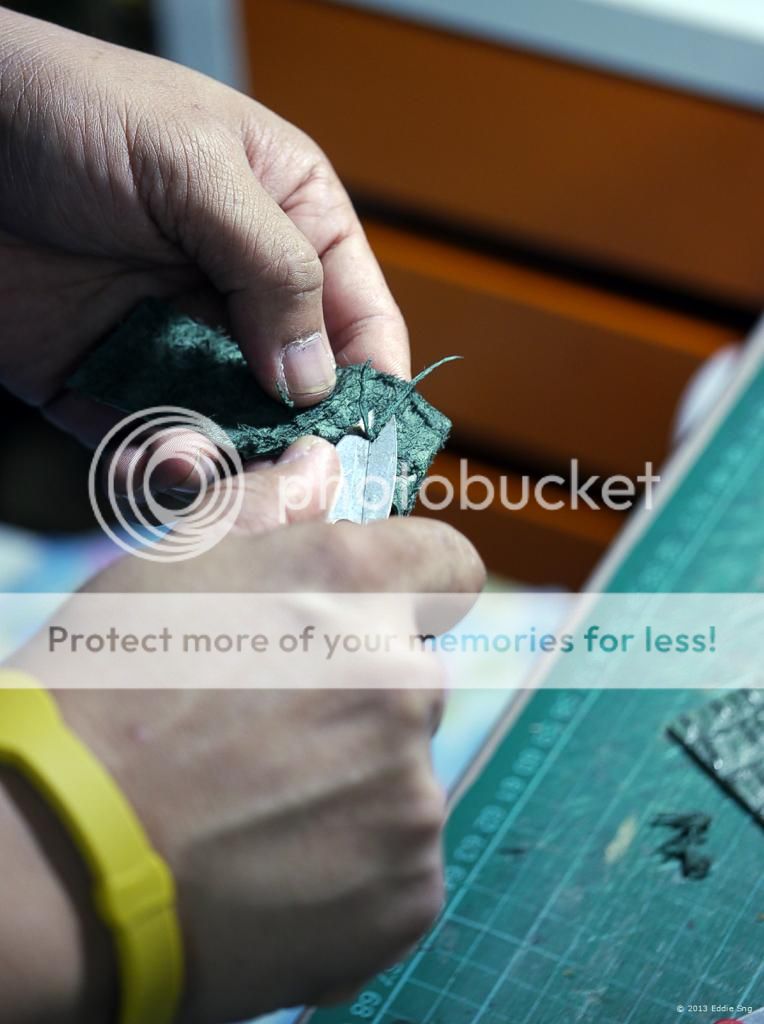
Next up is chewing the thread color. This is where customized straps comes up tops. Other than the normal matching thread color, one can get creative and mix and match. Jason tells me he has had several requests for different material/color combination too.
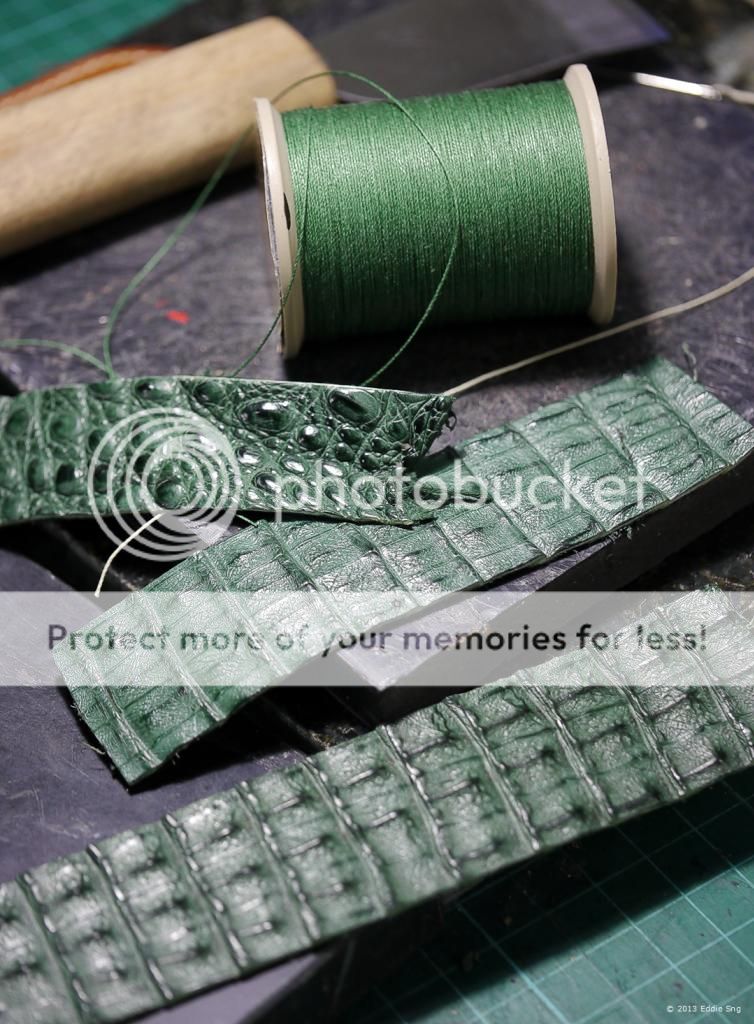
Every watch strap must also have a backing - and again, customized straps allows you the flexibility of choosing material type and color. So for instance, the front strap could be black alligator and the back could be red alligator. Think a Ferrari chronograph...
Once all the materials are cut to size Jason starts on skiving. Skiving is thinning the leather in certain parts and in this case, at the ends where the parts will be jointed.
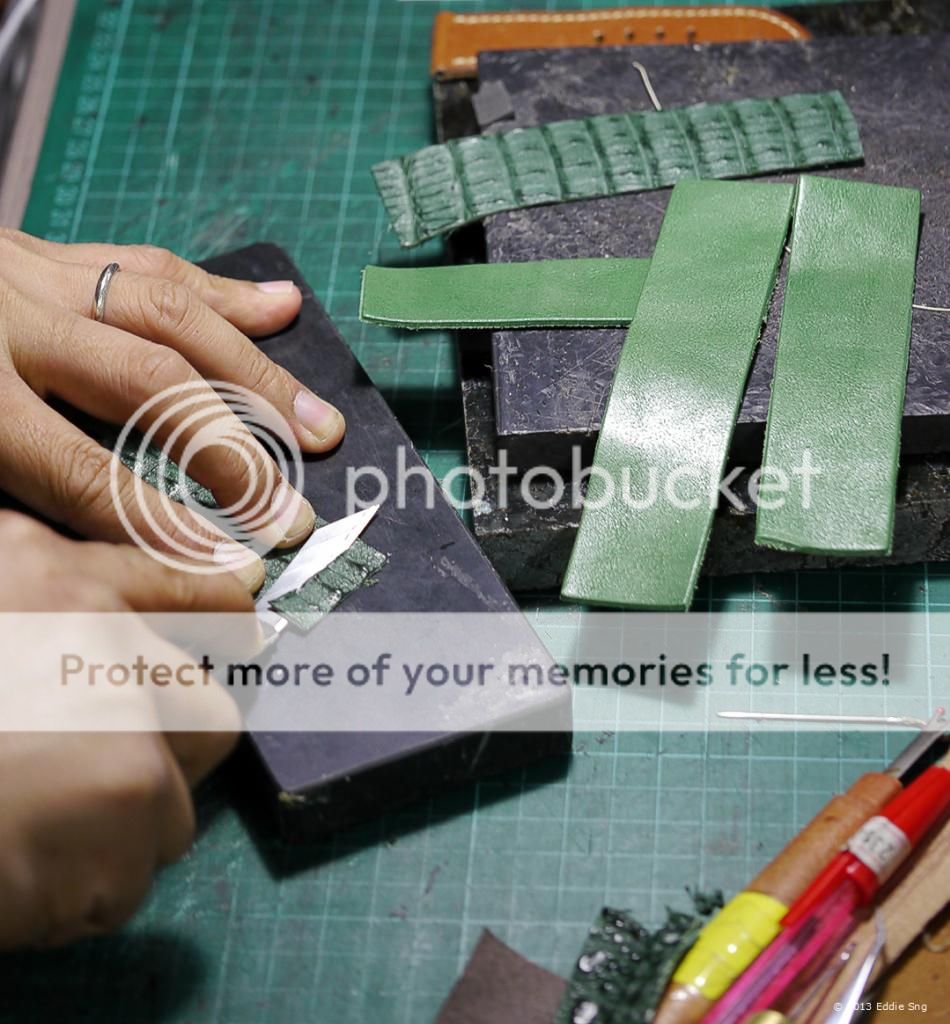
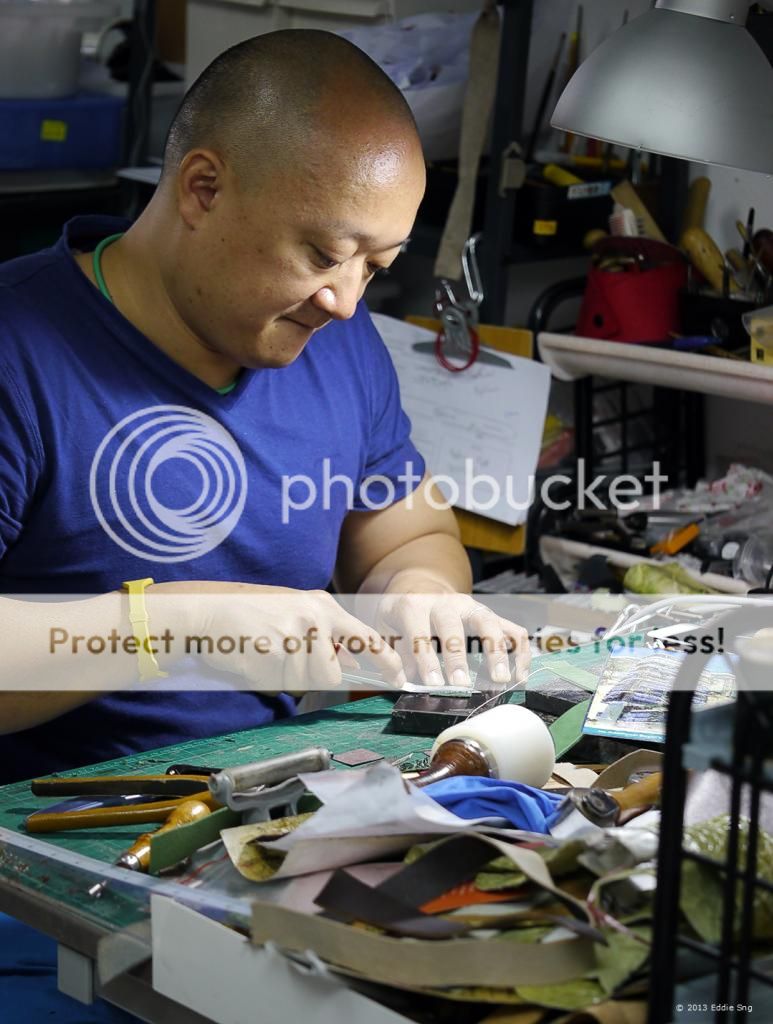
One has to have many different tools for strap making and even skiving. You can use a machine or in this case, a simple pen knife will suffice. But that takes skill - here is Jason at this workbench.
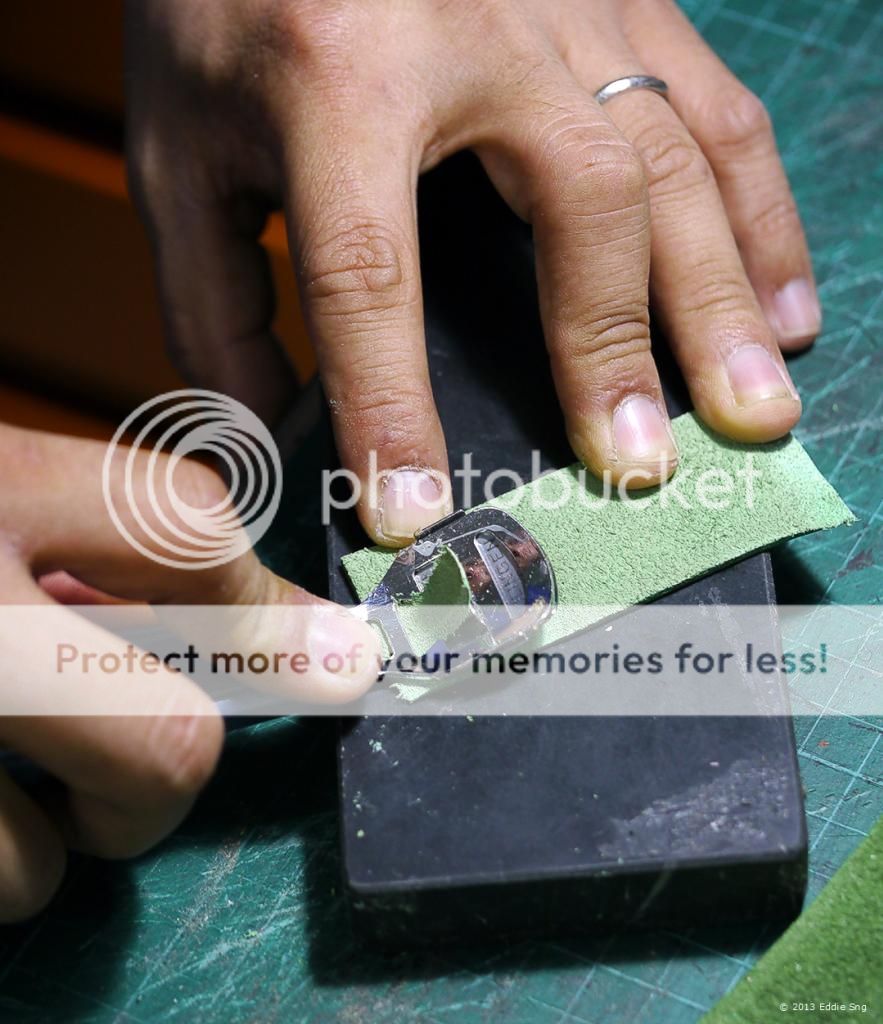
Sometimes, you find tools you never thought you could use and in this case, Jason is using a nail pedicure tool for skiving. And he tells me it works perfectly!
To skive and entire strip, Jason uses a skiving machine like this one.
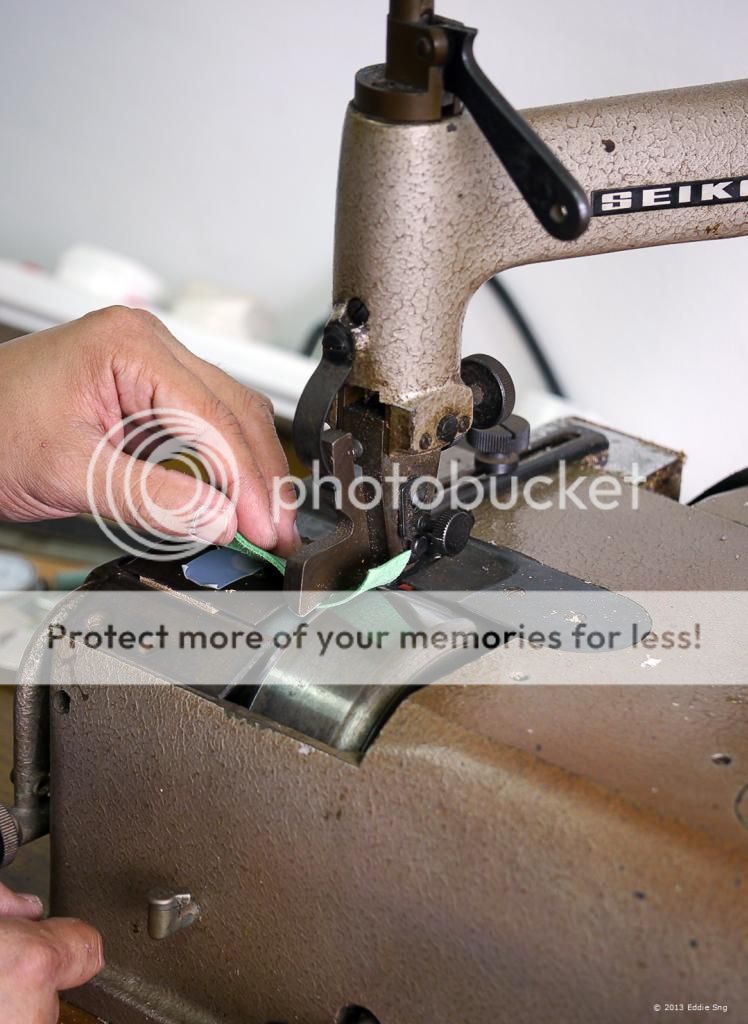
After the skiving, time to glue the straps together.
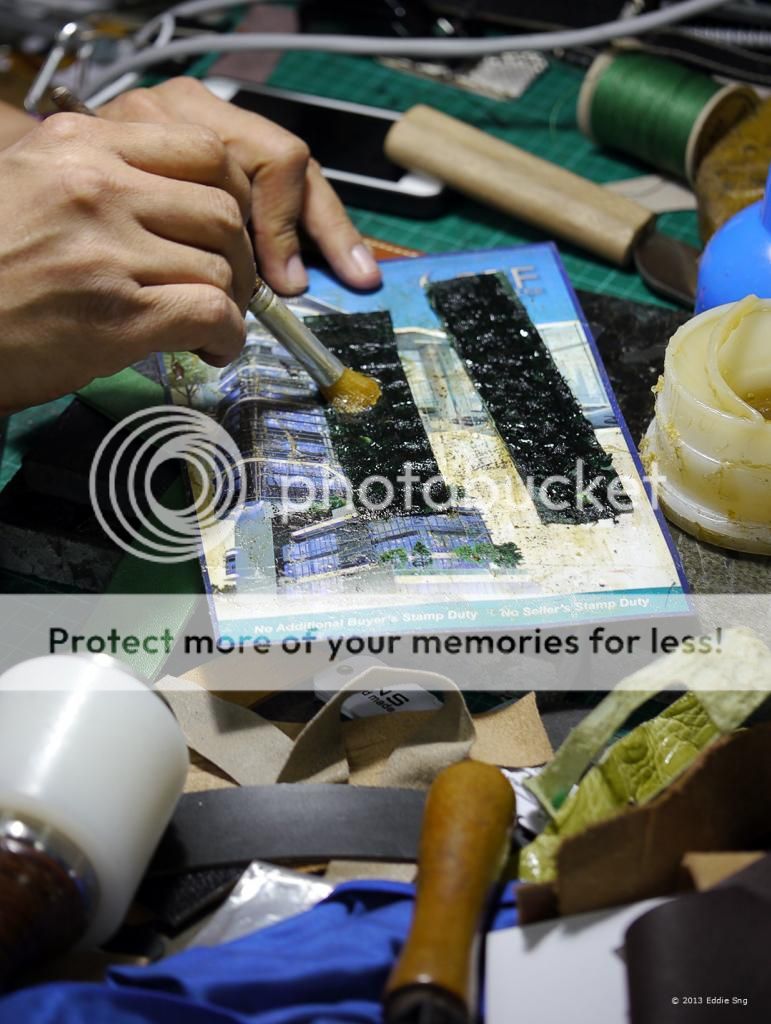
Now it's ready to be put together. The front and the backing are then put together by glue. Jason tells me he uses a medical grade glue from Germany - no smell.
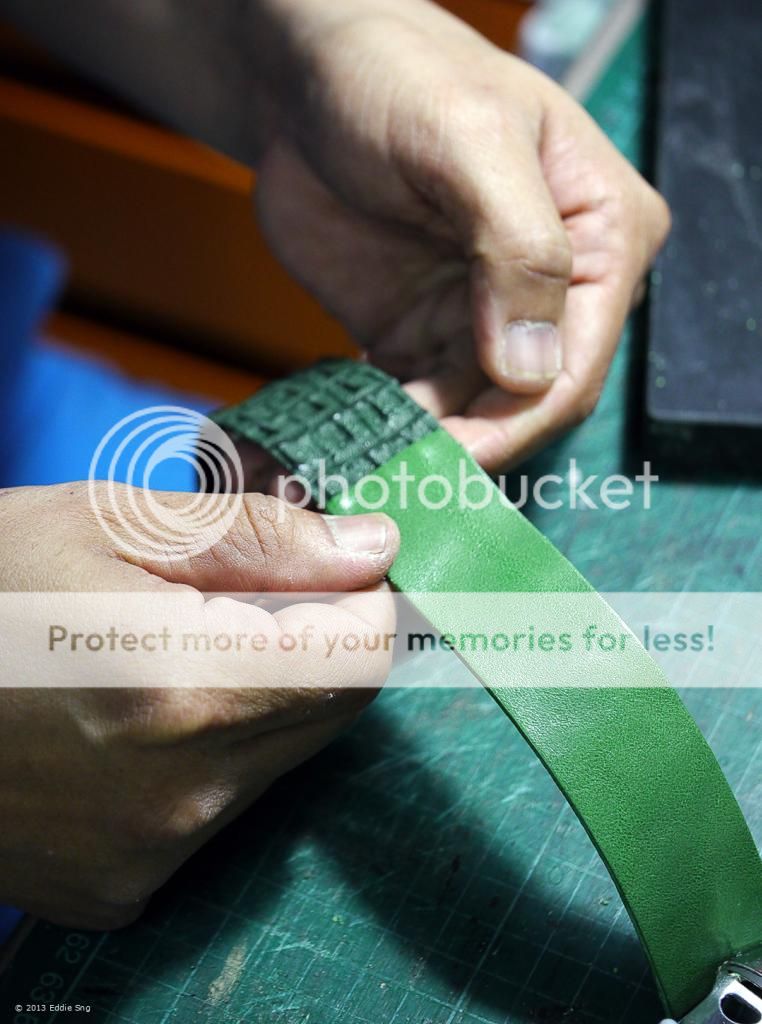
Then depending on the customer, padding will be added or not. Jason uses high density foam as the material does not fray so easily and is also much lighter.
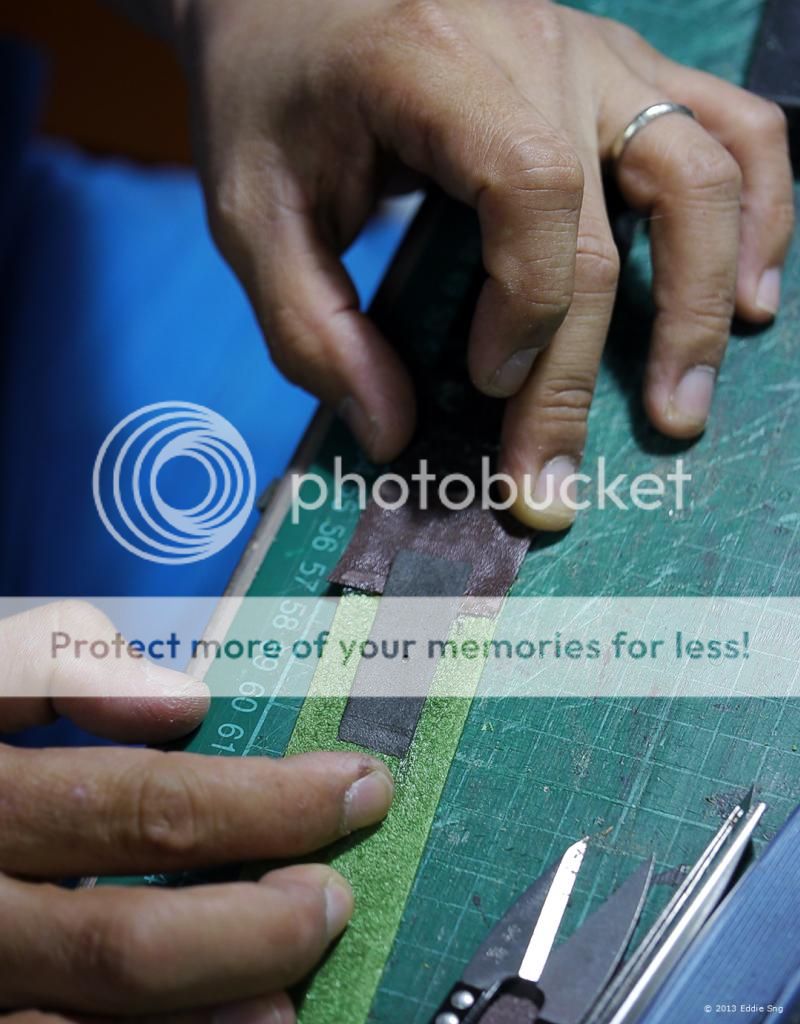
Putting the strap together after adding the padding - turning and joining the strips together to form the strap.
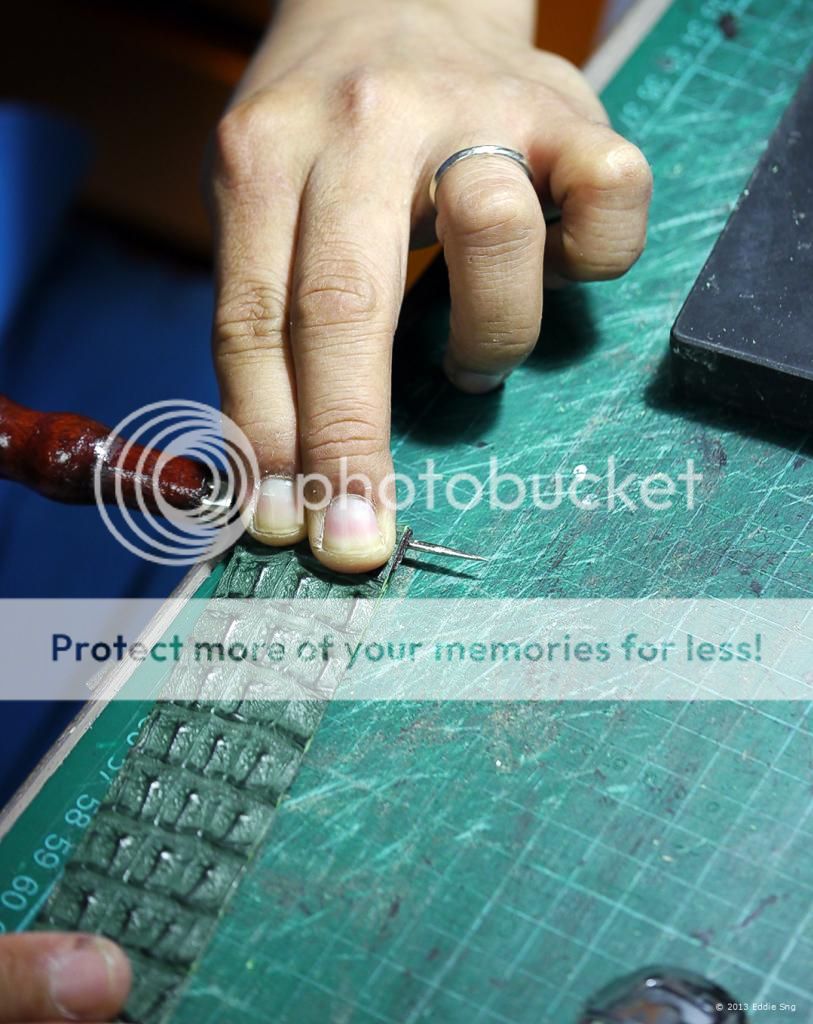
Then Jason uses a hand press to bond the strips to ensure they stick together. The glue cannot be too wet or too dry - it must be "just nice". Something only a seasoned pro will know.
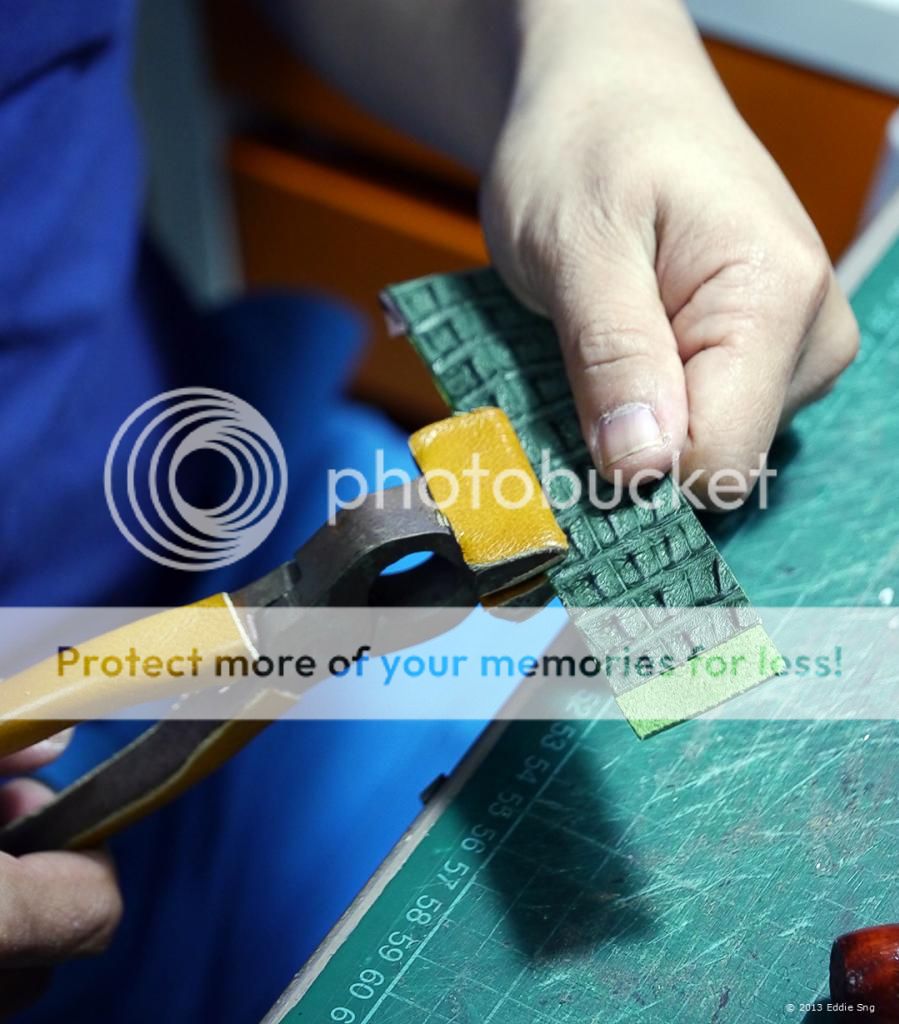
After they are pressed and bonded, the straps are cut to size. The original strips are cut bigger to allow for trimming later on. And the wastage is rather high for customized hand made straps unlike the machine made ones.
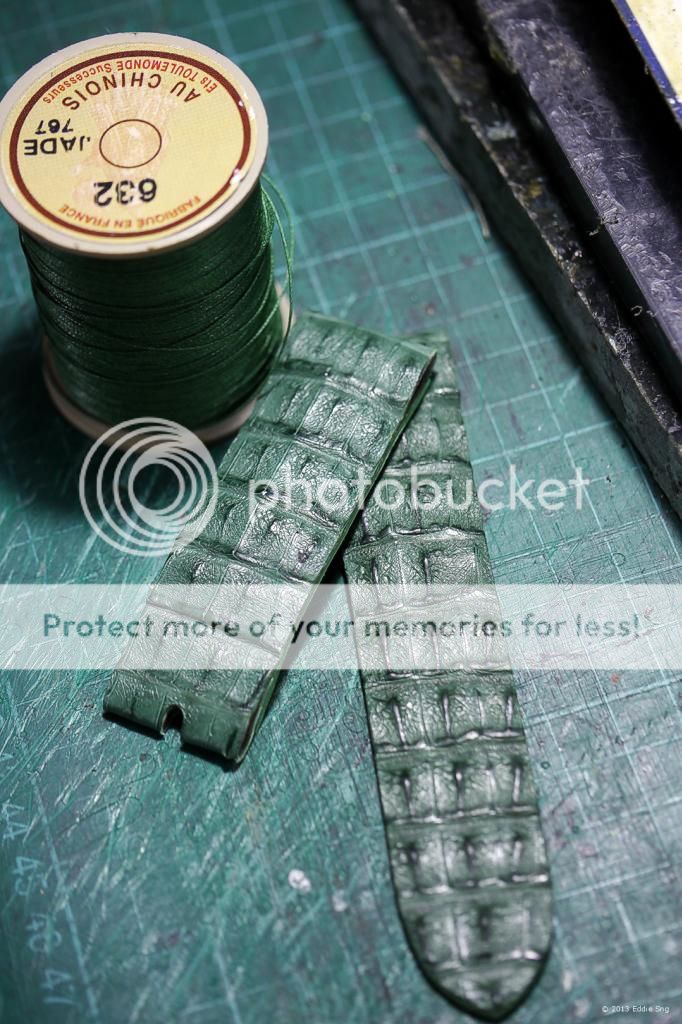
Before they can start stitching the strap, Jason has to punch a series of holes so that it is easier to stitch. A special tool is used for that.
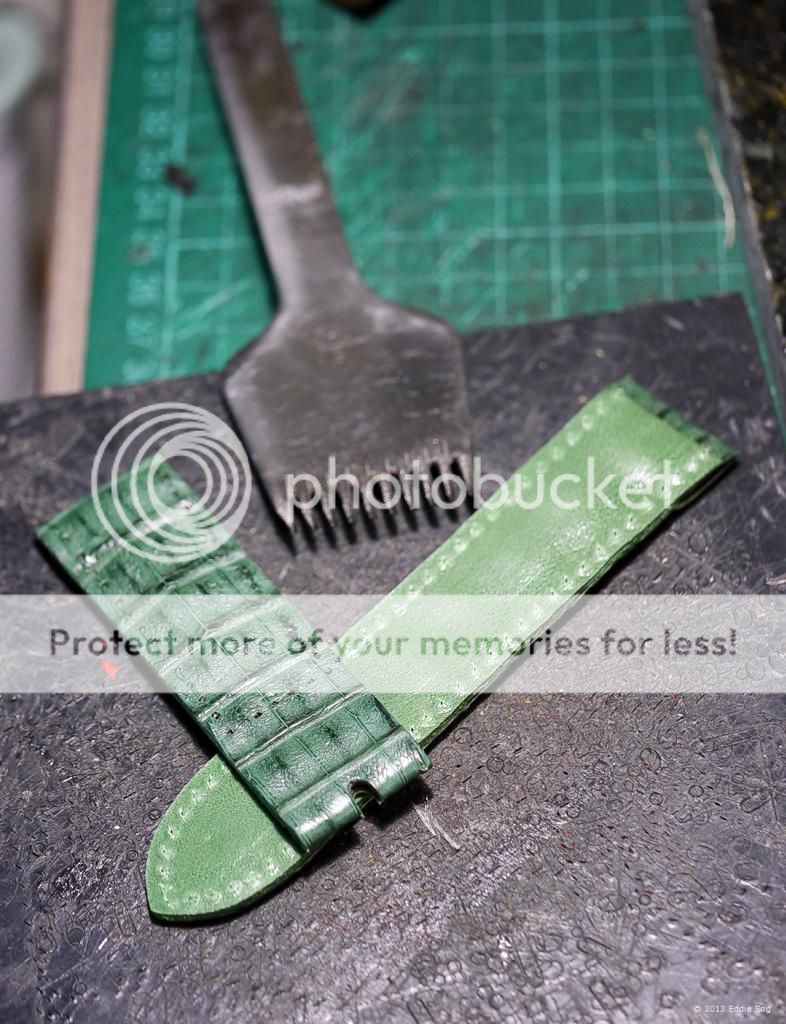
After the holes are punched, another round of skiving - this time around the edges to ensure the straps do not cut the users. So to round of the edges, a special tool is used to smoothen the edges.
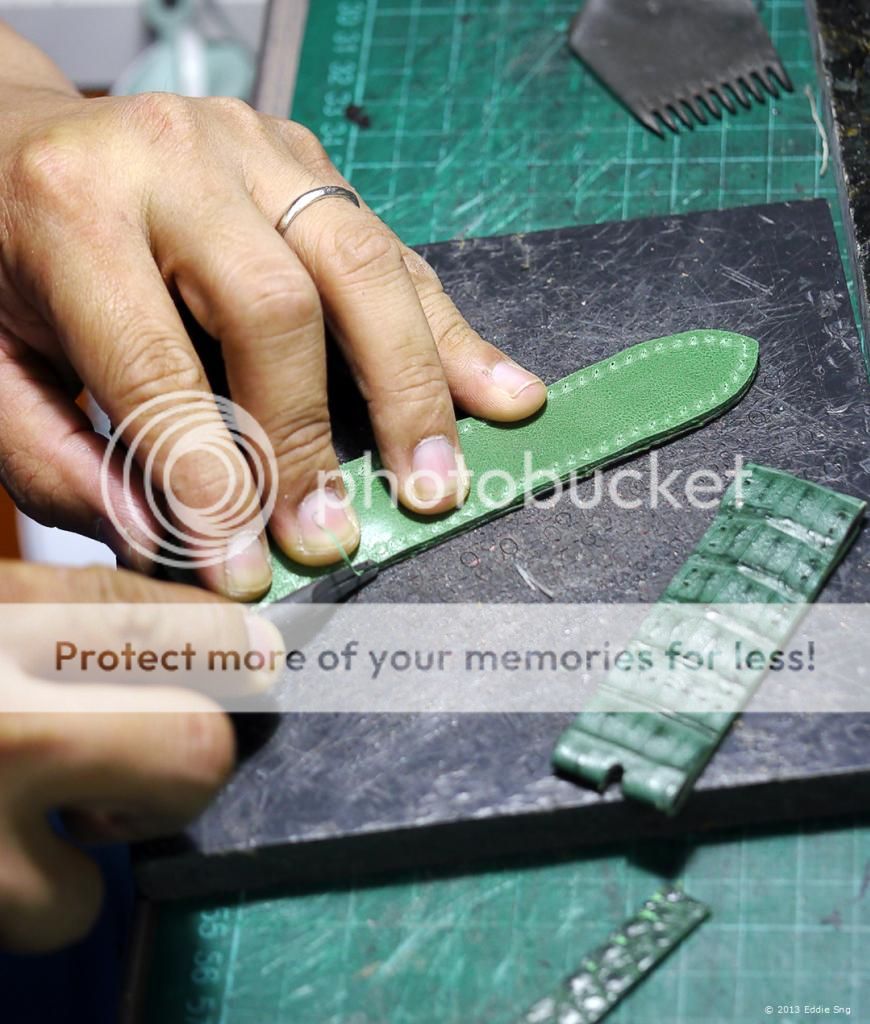
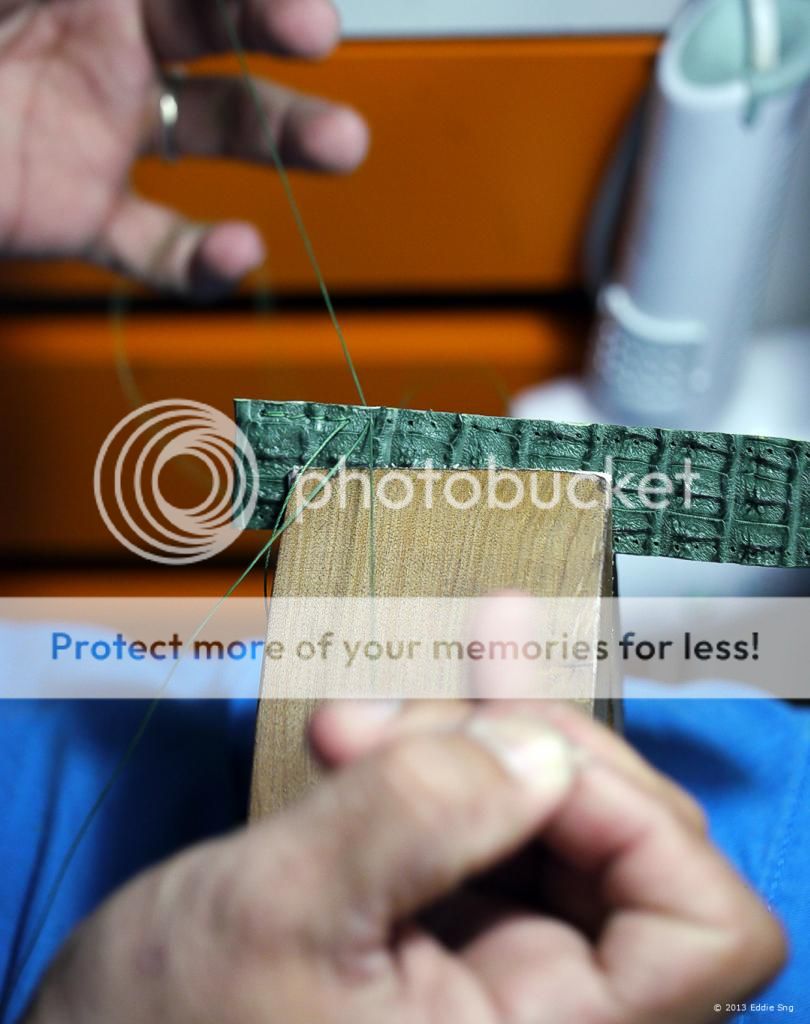
Then the stitching starts. Threading the needle is no easy feat but Jason did it without any aid. Using a giant leg clamp to hold the straps together, the stitching starts. Hand stitching is more lasting. Even while one part of the stitch tears for whatever reasons, the other stitches will still hold the strap. With commercial generic straps which are machine stitched, once the stitch tears in one place, the entire stitch will come apart as the thread is one single continuous stitch.
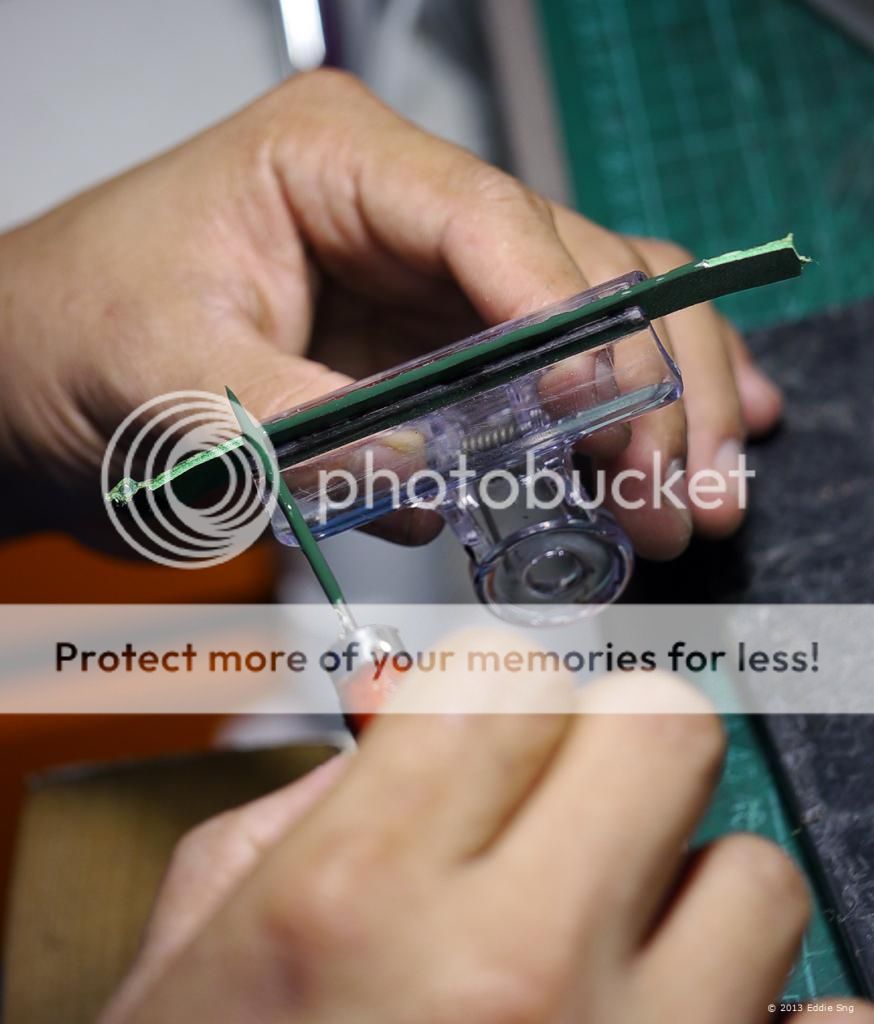
After the stitches are completed, the sides of the straps are colored to give a consistent color theme. The completed straps are then left to dry.
And then the strap is finished and ready to be handed over to the owner. Jason ships internationally too. From start to finish, it takes about 2-3 hours to make one strap.
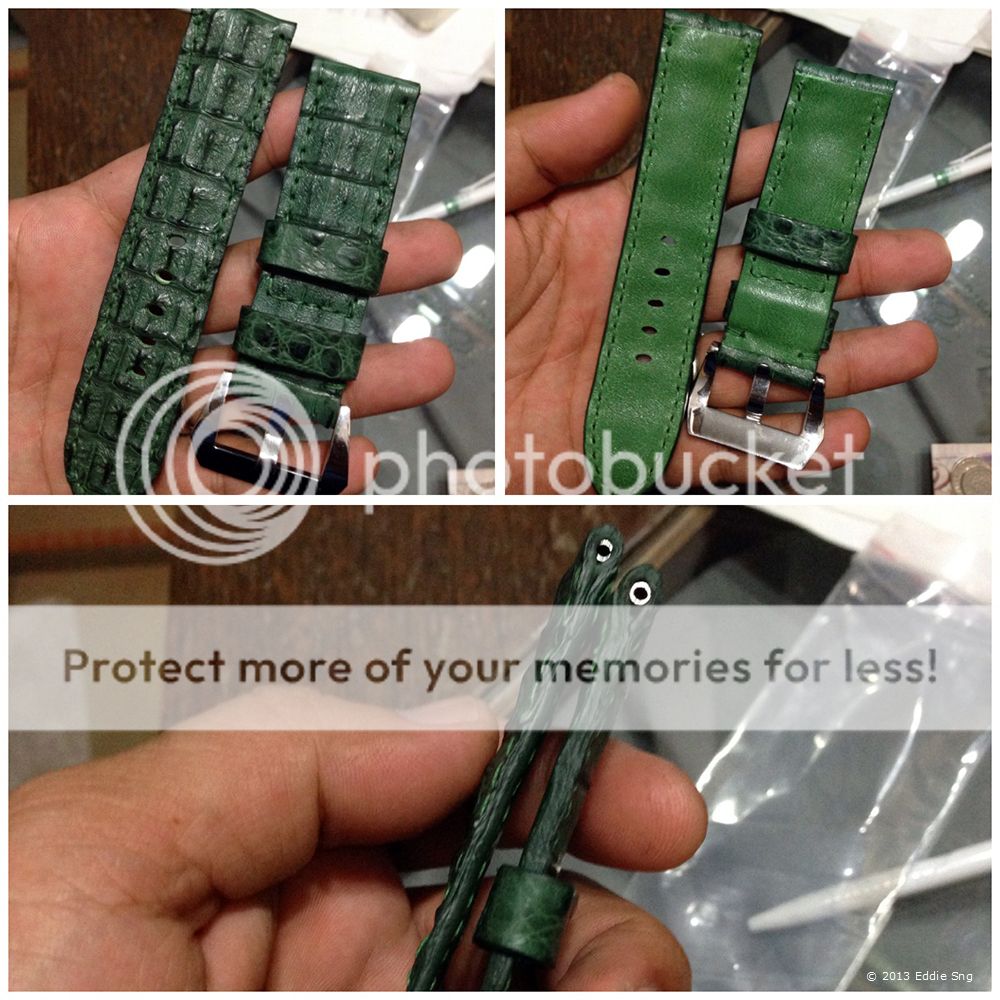
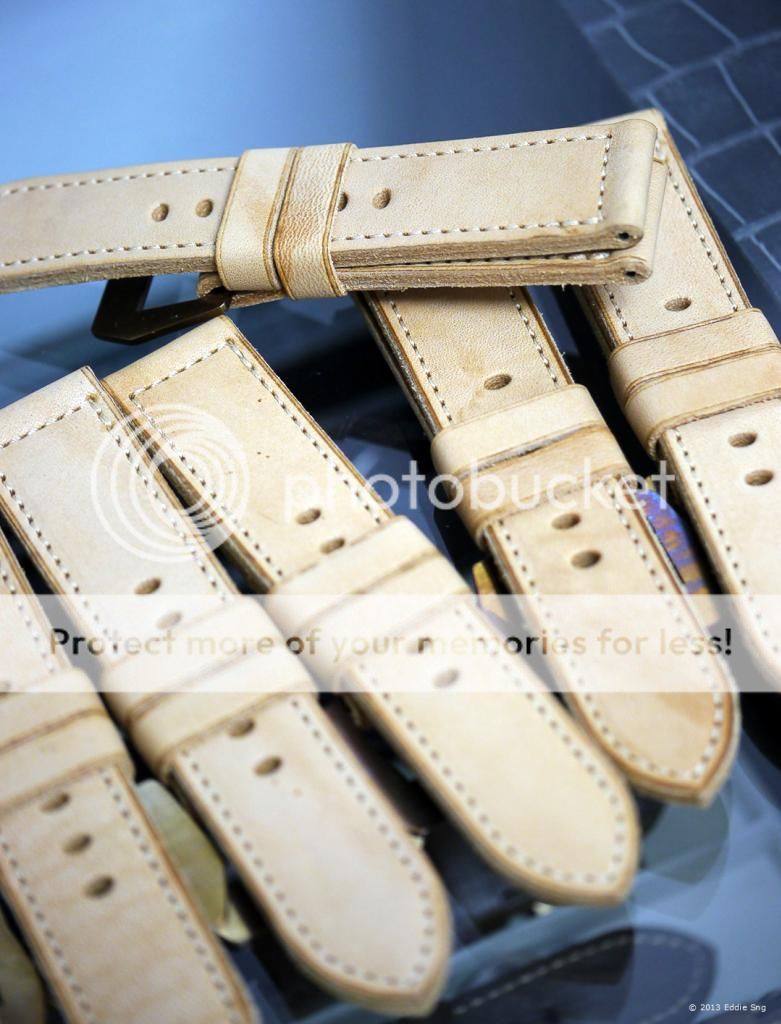
JnS specializes in Panerai straps and they have a nice range of ready-to-wear straps.
JnS Hand Crafted
545 Orchard Road, #02-23 Far East Shopping Centre, Singapore 238882
Mobile: +65-97590196
Opening Hours: Monday to Friday 12pm-6pm, Sat 11am-3pm. Alternate timing by appointment only. Contact jnsstrap@me.com
Great review here which provides some insight to how a handmade watch strap is made. As a bespoke strap maker myself, I would like to point out that precision cutting without using mounds but by templates shaped like a strap can significantly reduce the wastage of the leather as you can just cut the strap's final shape from the start. It is quite disheartening to hear that high density foam is used as an inner padding and not leather, but regardless, his workmanship is still laudable.
ReplyDeleteCheers!